This help doc will detail how to install the Social Warfare migrator and what data will be moved over.
For Social Warfare the migration process covers: #
- your posts’ custom social media data (Social Media Image, Social Media Title, Social Media Description, Pinterest Image, Pinterest Description, Custom Tweet);
- Click to Tweet boxes added into the post content;
- your posts’ social media share counts.
Once you are logged into the Hubbub website you can navigate to the Downloads page (Account > Downloads) to access the Migrator Plugin for Social Warfare.

From here you will be able to click the button that says “Download Social Warfare Data Migration Tool.”

After clicking that button a .zip file will download to your computer.
Installing the Plugin #
The migration tool is a regular WordPress plugin that can be installed directly from your WordPress’ Plugins admin page. To install it, navigate to Plugins -> Add New, click the Upload Plugin button, found besides the page’s title, and upload the downloaded .zip file.
Once activated, the migration options should be available in Hubbub -> Migration Tool. You need to have Hubbub Pro installed and active in order to see this page.
For the migration process it is not mandatory to have Social Warfare active.
Note: If you have another Social Pug migration add-on active, for example the Tasty Pins Migration Add-on, please deactivate it.
Using the Migration Tool #
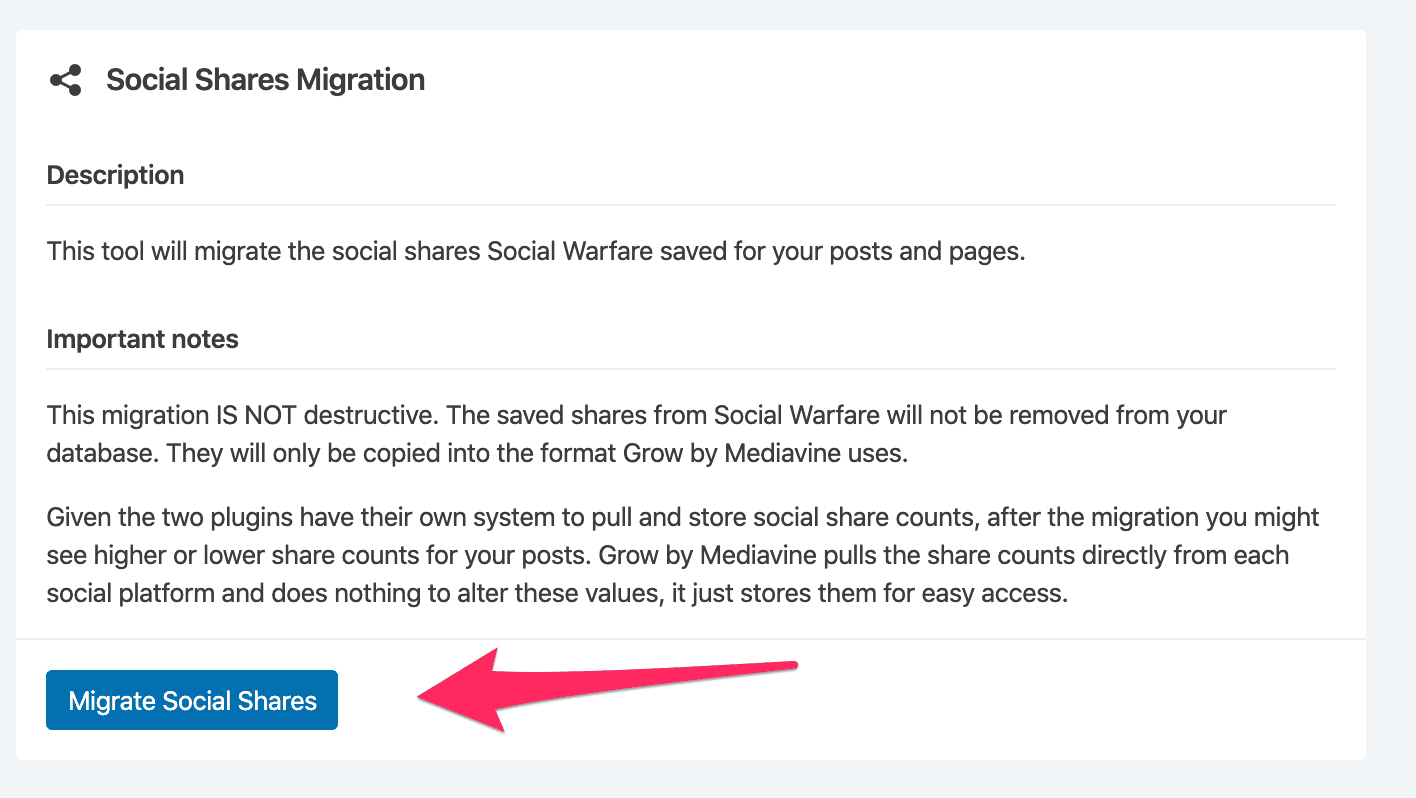
Once the plugin is installed you will navigate to “Migration Tool” under the Hubbub Pro settings. You will be able to click the button that says “Migrate Social Media Data” to begin the migration process.

You will want to make sure to use the Migration buttons for each section you would like to migrate from Social Warfare.


Uninstalling the Migration Add-On #
Once the migration process is finished please check that your social media data has been migrated properly. If everything is good, you can safely deactivate and delete the add-on from your WordPress admin Plugins page.
