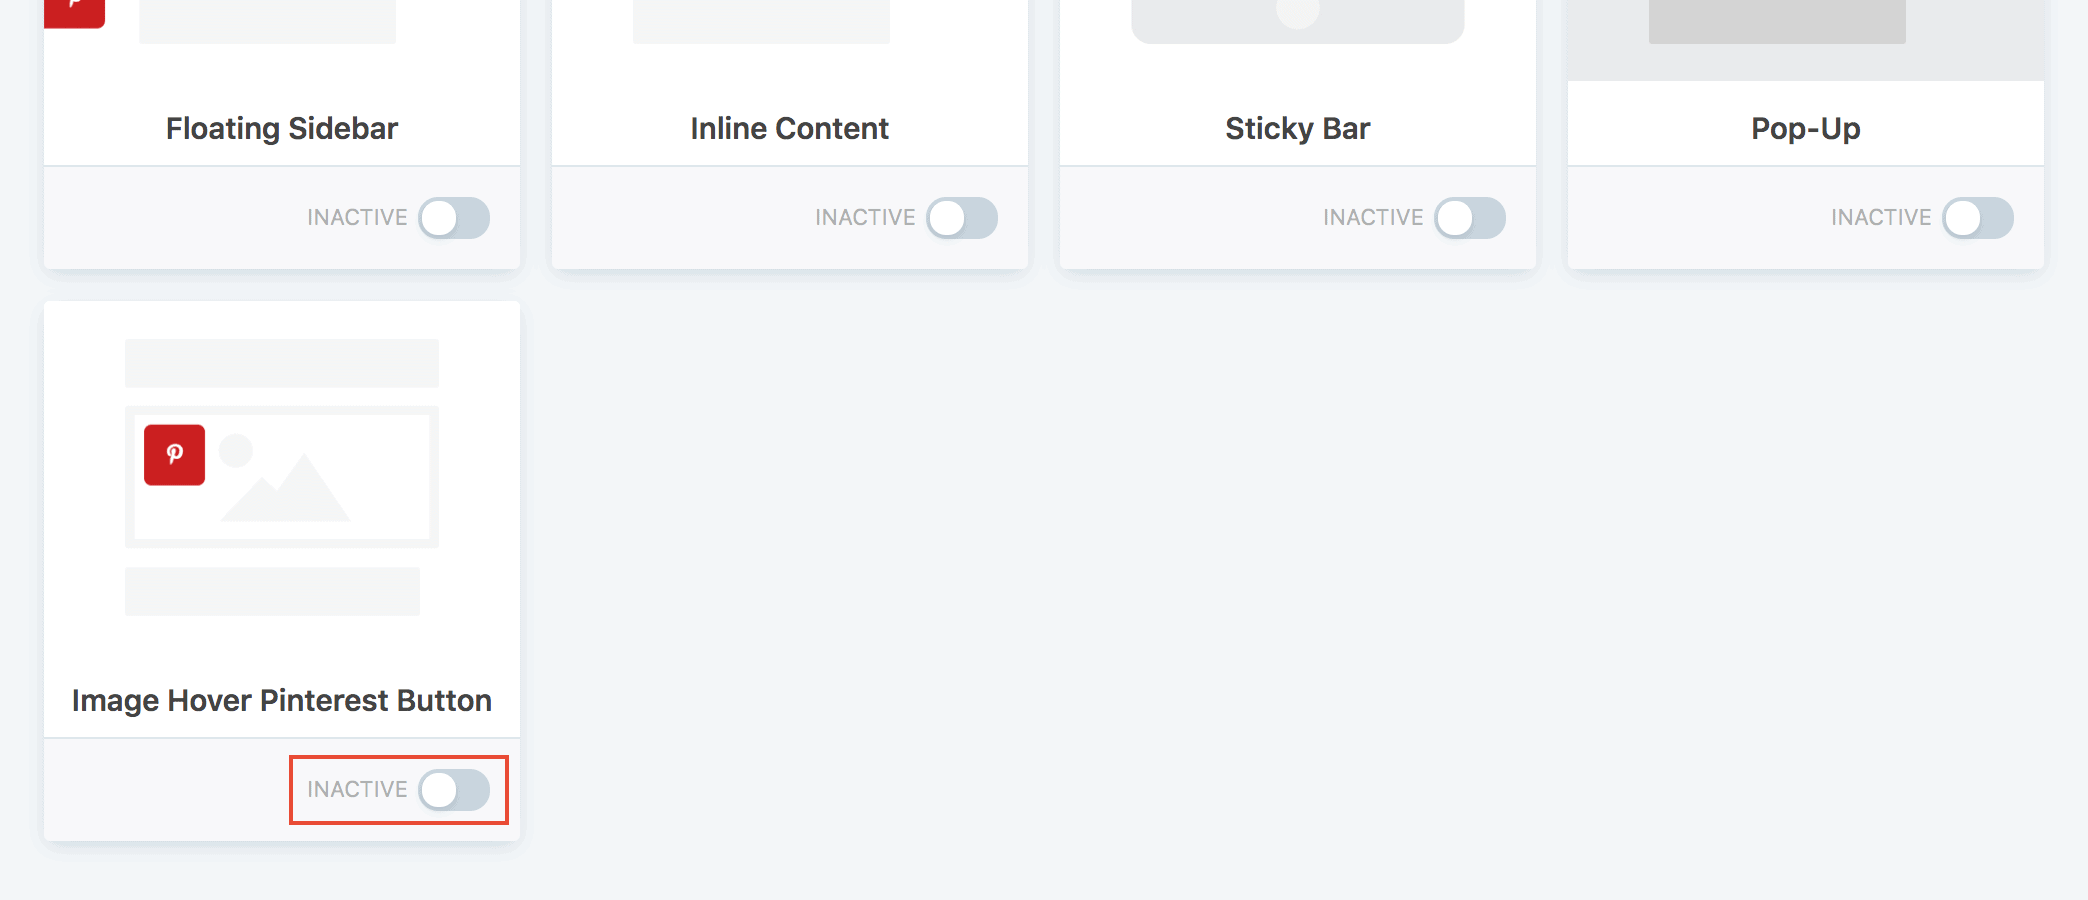
Activating the Image Hover Pinterest Button #
To display a Pinterest button over your post’s images when users hover over them, activate the Image Hover Pinterest Button share tool from Hubbub > Toolkit, by clicking the switch button shown in the screenshot below.

Once active, click the “Settings” link that has appeared at the left side of the activation switch button. This will redirect you to the plugin’s settings page, in the Pinterest Settings tab, where you will be able to customize the way the Pin It button should behave.

Setting up the “Pin It” button #

The settings options for this section explained:
- Button position: Select where you wish the Pin It button to appear on the image.
- Button shape: Modifies the shape of the button to the selected one. You can select between three shapes: rectangular (button with right angle corners), rounded (button with slightly rounded corners) or circle (button with fully rounded edges and no corners).
- Minimum image width (pixels): If this value is set, the Pin It button will not be added to images that are narrower than this value.
- Minimum image height (pixels): If this value is set, the Pin It button will not be added to images that are shorter than this value.
- Show button label: You can have the button just with the Pinterest icon or with a customizable label. If this value is enabled, a label will be displayed on the button alongside the Pinterest icon.
- Button text label: Add a custom message that will be displayed as a label for the button. This options is active only if the “Show button label” is enabled.
- Show image overlay: When hovering the image, you can opt to show a white overlay over the image, to draw more attention to the image, thus making the button more visible.
- Always show on mobile: (version 2.21.0 and higher) Turn this option on to show the button on mobile without the need to hover.
- Always show on desktop: (version 2.21.0 and higher) Turn this option on to show the button on desktop without the need to hover.
- Button share behavior: By default the button will share the image that is hovered. You can opt-in to change the button’s behavior and have it share the custom Pinterest image you’ve set for the post (this will lead all images from the post’s content to have a Pin It button that shares the post’s Pinterest image, regardless of what image is hovered).
- Post Type Display: You’ll want to check which type of post you’d like the hover button to show on. Options are posts, pages or recipe. You may enable more than one.
Note: Having your Pinnable Images (under General Pinterest Settings) set to Only Pinterest Images Set for the Post won’t allow the hover button to work. You’ll need to select either All Available Images or Only the images set for the post content.
Disabling the “Pin It” Button #
There are times when you’d prefer to omit the “Pin It” button from some image on your site. There are a few ways to do this.
For Single Images within Post or Page Content #
Perhaps you just have 1 image you’d like to turn off the “Pin It” button for. The easiest way is to add a CSS class to the image via the Image Block in your Editor. See image.

Tap on the image, in the block’s settings, usually seen in the right-hand column, under Advanced, add a CSS class of no_pin.
Please note: Disabling the “Pin It” button may not exclude this image from possible selection while someone is pinning your post. To learn how to exclude certain images from pinning, see this doc.
For Many Images #
Perhaps there is an entire collection of images on your website that you’d like to disable the “Pin It” button on. We see this a lot with ads. Starting in Hubbub Pro 2.24.0 and above, you can add your own custom class(es) that you’d like the “Pin It” to be disabled on.
Let’s say all of your ads have a CSS class of “advertisement”. In Hubbub > Pinterest under Pinterest Image Hover Settings, add any number of classes to the “Disable button on class” setting.
This makes it easier to disable the hover button on many images at one time.
