When inserting a new image into your post using the “Add Media” pop-up, within the sidebar of the pop-up you should have a field named “Hubbub: Pin Repin ID”.
Copy the pin’s ID from your pin’s URL and then paste it in the Repin ID field.


Once you insert the image into the post, Hubbub Pro will add Pinterest’s “data-pin-id” attribute to the image’s HTML and set its value to the data you’ve inserted in the Pin Repin ID field.

Please note: Once you’ve added the image to the post’s content, any Pinterest specific data set for the image, including the repin ID, can be edited only from the content editor (both Classic and Gutenberg). Editing the repin ID from the edit attachment page will have no effect on the images already added in your posts.
Editing the repin ID for an image already added to the post with the Classic Editor #
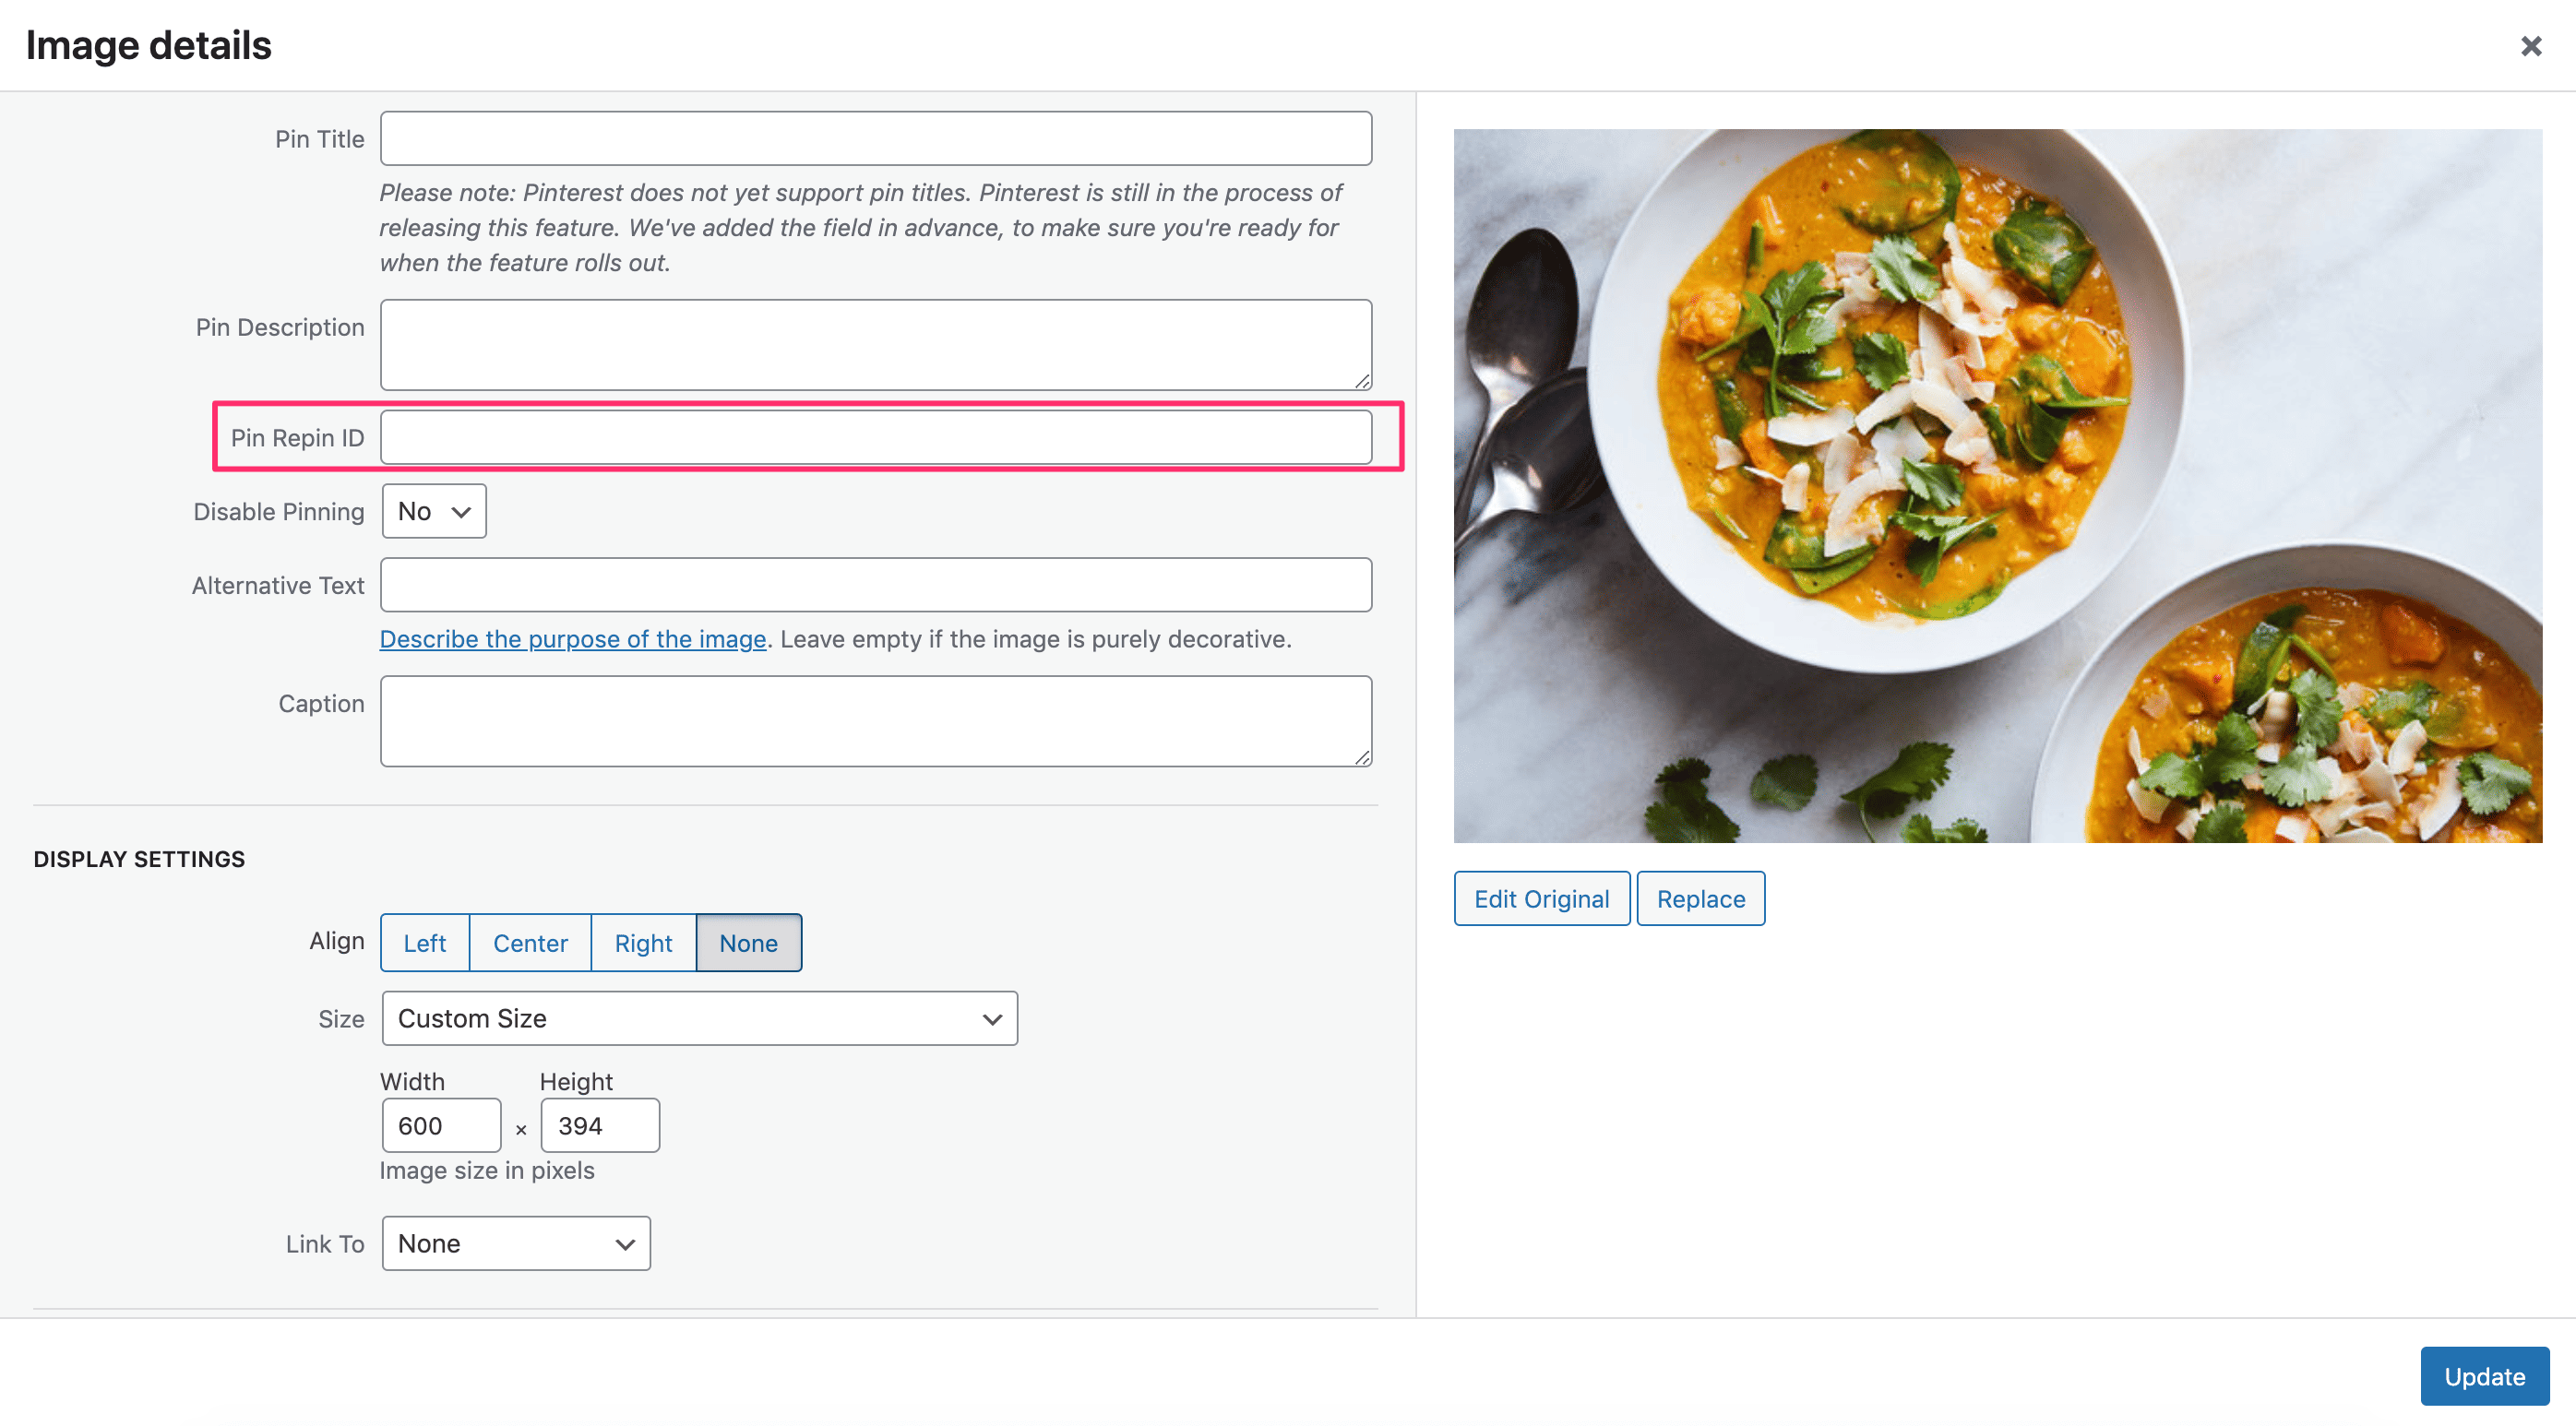
To add or modify the repin ID, with the Classic Editor, for an image that is already present in the post’s content, click on the image and then on the “Edit” button.

This will open the “Image Details” pop-up where you should find the Pin Repin ID field.
Once you’ve filled in the field with the needed value, click the “Update” button. The “data-pin-id” attribute will be added or updated with this new value.
Editing the repin ID for an image already added to the post with the Gutenberg Editor #
To add or modify the repin ID, with the Gutenberg Editor, for an image that is already present in the post’s content, click on the image block and then, from the sidebar, fill in the Pin Repin ID field.
No extra step is required here, as the value will be added automatically as you type or copy/paste a value.

Please note: This option is available only for the Image Block within Gutenberg. The Gallery Block or any other image related blocks will not have this feature.