Thank you for installing Hubbub! This doc will help you to understand many of the sharing tools and options available in the plugin.
Toolkit
Each tool in the toolkit is a way to show the sharing buttons on your website. You may want to show the buttons at the top of each post, or floating on the side. Each of the tools has their own customizable options. By using a combination of tools and options you are able to get your website set up just the way you want it.
With Hubbub Lite, you are limited to the Floating Sidebar and Inline Content tools. Hubbub Pro has additional tools; Sticky Bar, Pop-up, Pinterest Image Hover, and the Follow Widget.
You can enable each tool at Hubbub> Toolkit and each tool has its own settings that you can customize to your preferences including which social network buttons you’d prefer to see, color options, and more.
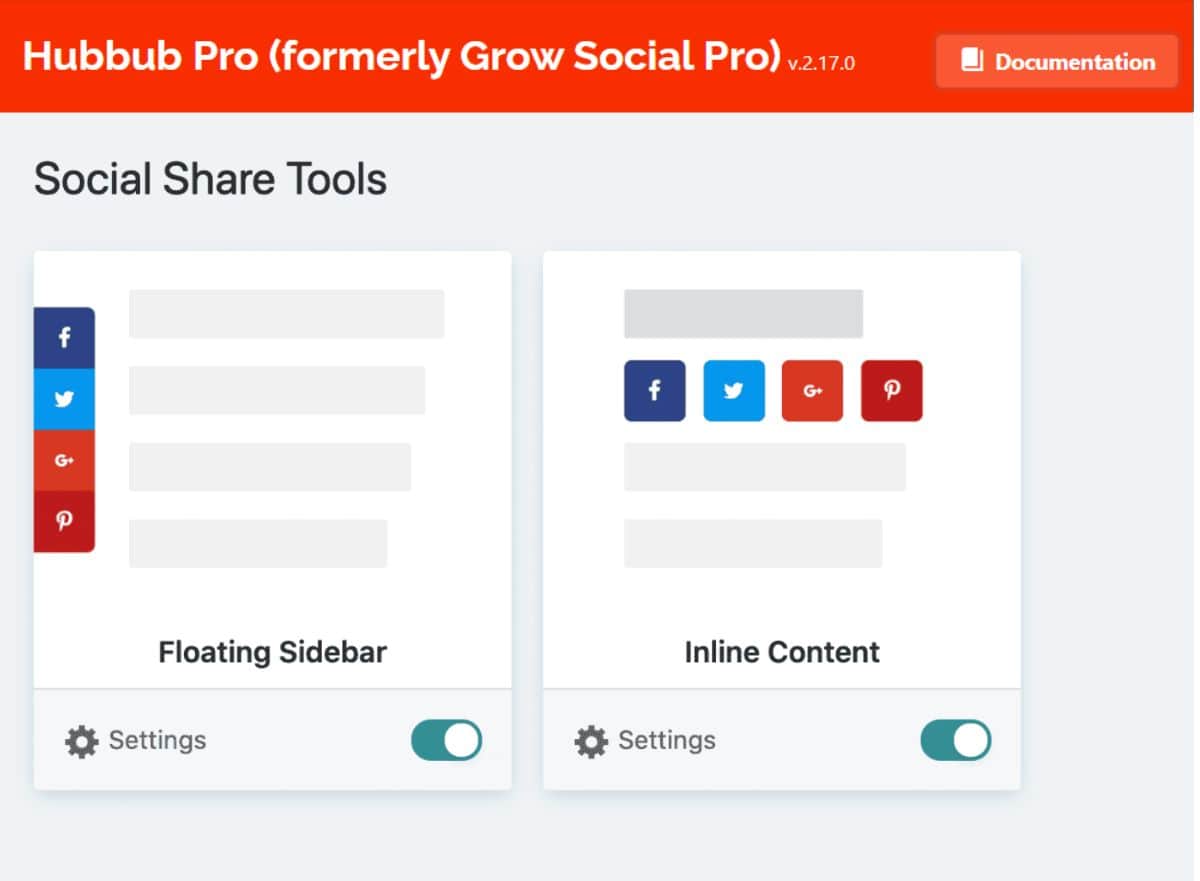
The Floating Sidebar
The floating sidebar will “float” on the right or the left side of your page. You are able to make this choice, along with other settings via the display settings within the Toolkit settings for the floating sidebar.
There are many options including button size, animation, hiding until the user scrolls down your page, and more.

Inline Content Buttons
The inline content buttons show above and/or below the post content. After deciding what networks to display and the button style, you can choose the button shape, size, animation, and position. You can also decide if you want to show the button labels or if you’d like the buttons to have spaces between them, show on mobile, or include a “share” text. There are a lot of options to help you match the buttons to your website’s theme.
Tip: If you don’t want the “Sharing is caring!” text you can simply leave the field blank.

Social Networks Available
Each tool has their own set of social networks that you can enable. Hubbub Pro includes integrations with more social networks than Hubbub Lite.

Post Types
Each tool can be displayed on any post types your website has enabled. Choose which post types that you’d like the tool to appear on. If you have Custom Post Types for your website, they will appear as an option as well.

Share Counts
To activate share counts, go to Hubbub > Settings and you will find a section for Facebook and Twitter to enable these options. Learn more about how to set up Facebook Shares here.
You will also need to enable them on each toolkit item. For instance, if you’d like them to show on the inline buttons but not display on the floating sidebar, you will go into the inline content settings and toggle on “Show share count.”

Pinterest Options
With Hubbub Pro the plugin has a bunch of helpful Pinterest settings that allow you to insert a Pinterest description, add hidden images to your posts, add a Re-Pin ID, and add a Pinterest hover button to your images.
Custom and Hidden Images
With Hubbub Pro you have the option to add custom and hidden images to your posts.
Tip: We’ve written a post to help you use the Pinterest options in Hubbub: Getting Started with Hubbub Pro for Pinterest.
Pinterest Hover Button
When activated, the Pinterest hover button will place a clickable Pinterest button on your images within the post.

Pop Up
With the pop-up tool, there are some special settings that you can enable that act as rules for the conditions for the pop-up widget to show on your site.
These include enabling if it shows after the user scrolls, setting the scroll distance %, enabling the pop up to show after a set amount of seconds, enabling exit intent, choosing if it shows on mobile, and deciding if the pop up should show every time or select the number of days.

Sticky Bar
The sticky bar lets you add a horizontal bar to the top or bottom of a post. This is great for mobile and works on desktop as well! You can selectively decide where this will show on both desktop and mobile. You can of course selectively choose your social networks as well.
Note: If you are a Mediavine Publisher, make sure to read this help doc about Social Sharing Buttons and the Adhesion Ad Unit.
If you are running the sticky bar at the bottom of your posts, please change this to the top or disable this widget altogether.
You’ll want to make sure to select “Top” for both mobile and desktop so these buttons do not conflict with the adhesion ad unit.
Follow Widget
The follow widget can be enabled within the Toolkit options in Hubbub Pro. Once that’s all set you’ll want to choose the networks to display and then navigate to your Social Identity tab and input your social handles.
To navigate to the social Identity tab go to Hubbub > Settings > Social Identity.

You can then insert this into your sidebar directly or use the shortcode [hubbub_follow] anywhere within your post content. for more information about how to set this up, navigate to our help doc: Using the Follow Widget in Hubbub Pro. To learn more about shortcodes view our Shortcode Helpdoc!
The follow widget has different social networks than the other toolkit items due to the nature of sharing and following on the specific networks.
For instance, with Instagram, you generally share your own content and follow accounts instead of share posts to the network.


